You might be interested in...

How to measure customer stickiness in SaaS
Two customers sign up for your product on the same day. One logs in once, clicks around, and vanishes. The other starts to rely on it every morning, invites teammates, and complains when anything slows down. Both look like wins in your signup report, yet only one adds long-term revenue. That gap is where customer […]
By Imrana Essa
Dec 12, 2025
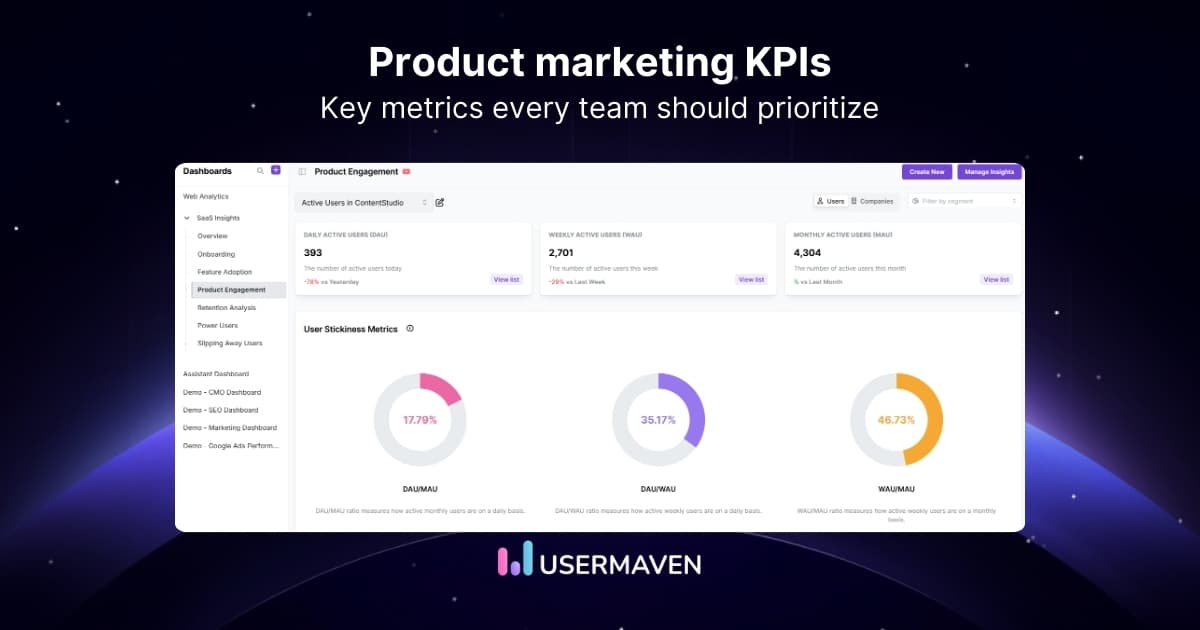
20+ Product marketing KPIs that matter most in 2026
Notice how some products seem to connect with users right away, while others never quite take off? It is rarely about features alone. The winning products are backed by teams that understand what their customers actually do, feel, and value. Product marketing KPIs, powered by solid product analytics, show how people use your product, where […]
By Imrana Essa
Dec 10, 2025

5 stages of the customer journey every business must know
Before anyone becomes a loyal customer, they go through a series of tiny decisions. Some are intentional. Some happen without them even noticing.And, these small moments decide whether they stay, leave, or choose a competitor. This is why the stages of the customer journey matter so much. When you understand the steps people take, you […]
By Imrana Essa
Dec 4, 2025